General - Background. Company Logo. Signature. Bank Logo. How do I add backgrounds, logos or signatures.
NOTE: You must have the background, logo, or signature image saved on the computer as a (.jpeg) or (.bmp) file. You will also need to know the location of the file so that you can navigate to it from within VersaCheck.
1. Open VersaCheck. Select "My Accounts" from the main VersaCheck screen..
Image 1

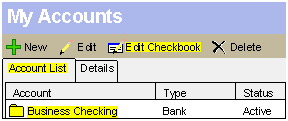
2. Click on the account you wish to add graphics to. Click on Edit Checkbook.
Image 2
4. On the Checkbook Information window click the Next button until you reach the "Select Your Graphics and Signature".
Image 3

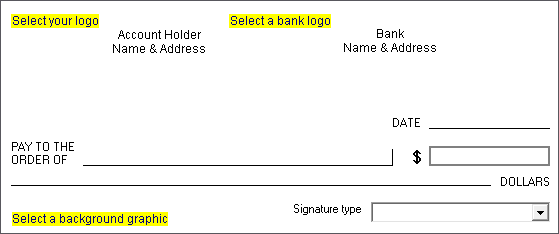
5. Select either "Select your logo" for company logos, "Select a background graphic" for graphics to print in the background of the check or "Select a bank logo" for graphics to print the banks logo. If you need to place a signature graphic proceed to step 9.
Image 4
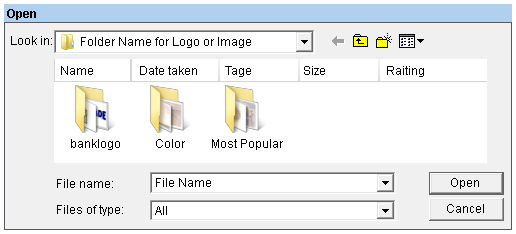
6. If there has been no previous graphic selected you will be taken directly to the "Open" window. Navigate to the location of your graphic and double-click it or highlight the file then select "Open". In case you have already selected a graphic, the "Select Account Holder Logo" window will appear. You will need to click on the "Clear" button to erase the currently selected graphic. To select a new graphic and continue, click on the "Browse" button.
Image 5
7. You will be taken to a preview window of the specific logo/graphic that you are adding. Ensure the correct graphic is displayed and select "OK".
Image 6
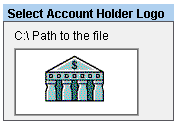
Image 7
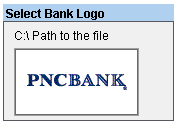
Image 8
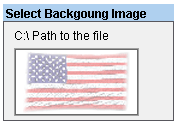
Image 9

8. You will be returned to the "Select You Graphics and Signature" window. The graphic(s)/logo(s) that you selected/inserted will show in the preview screen. If everything is correct, click the "Finish" button to save the changes. NOTE: If you need to add a signature as well go to step 9. If you have done that and are staisfied with all the graphics click on the "Finish" button to save the changes.
Image 10
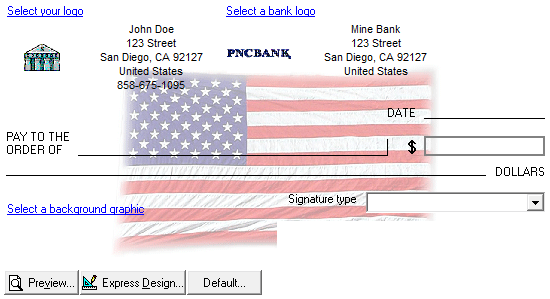
Image 11

9. To insert a signature image you will need to select the "Image" option from the "Signature Type" field. Once this is complete
Image 12

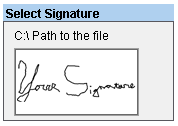
10. Click on "Your Signature Image" or "Your 2nd Signature Image" depending on which one you would like to add. Follow the steps above, 6 - 8, as this process of selection is the same except you will see the select signature window.
Image 13
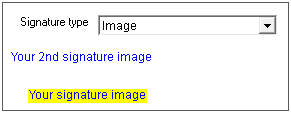
Image 14
