Alignment - Bank code alignment for retail stores. Aligning the bank code line for Wal-Mart. Checks do not scan at Wal-Mart. (Walmart)
When the check is scanned through by a retail store, check cashing store or Wal-Mart it cannot be read. These places are rejecting the checks but they clear at the bank.
Retail stores use different types of scanners than the bank and these scanners tend to scan lower on the check. Use the directions below to adjust the bank code line. The bank will still be able to read the check once the changes are made.
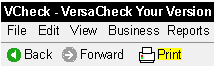
1. Open your version of VersaCheck. Select "Print" from the main VersaCheck screen.
Image 11
2. When the "Log In To Print And Send" window appears, select the IGNORE button. It is not necessary to log on the gValidate to adjust the bank code line. If you want to print checks after aligning the bank code line, please sign in with your gValidate email address and password.
Image 12

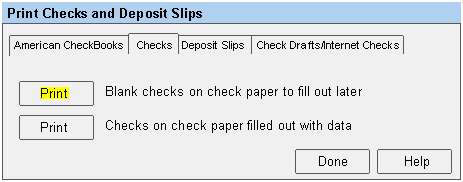
3. Select Blank Checks on Check paper to get a sample at the end and to not be required to write a check to continue.
Image 1
4. The Validation screen may or may not appear. If the screen appears select "Next" on the first screen.
Image 9
5. Select "OK" on the second screen.
Image 10
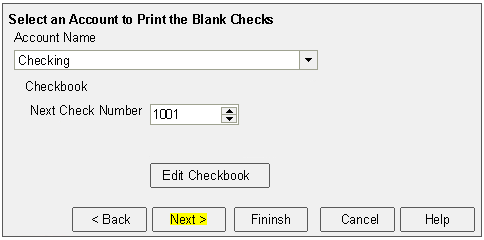
6. Select an account you have already setup for printing checks. Select Next.
Image 2
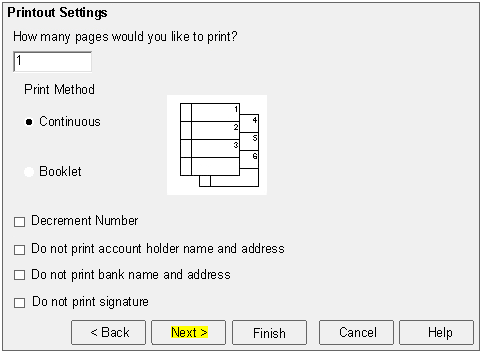
7. Ensure you only have one "1" selected as the output. Select Next
Image 3
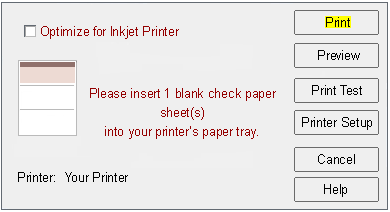
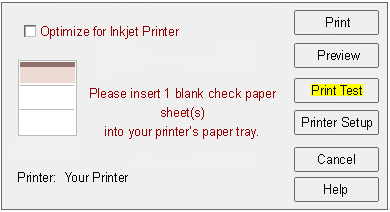
8. Select "Print Test" on the final print screen.
Image 4
9. Select "Next" on the first screen.
Image 6

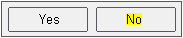
10. Select "No" to print a test check if you have a print out. If you do not have a print to use for adjustment select "Yes".
Image 7
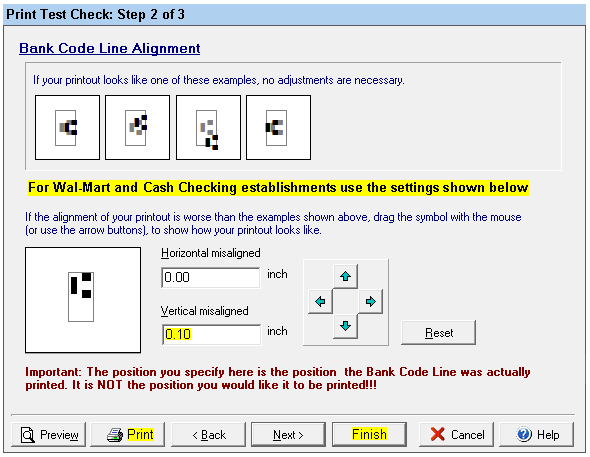
11. Below is an example of what you want the print out to look like. You want the first transit symbol to print at the bottom of the watemark on the check.
Image 13

12. Click and hold on the symbol in the box and move it in the opposite position of the one displayed above. The program generally wants to know where the print out is so that it can automatically adjust the symbol back to the center. Here we want to make the system adjust the symbol low in the center so we move the symbol high in the box. After this adjustment you want to select to print to determine if the adjustment is correct. If this is correct select "Finish". If the print still needs to be adjusted move the symbol until the desired location is achieved.
Image 8
13. Select "No" to print a test check, if asked, this was completed earlier.
Image 7
14. Select "Print" to print out a check or cancel all the windows to start the process of printing checks over. The changes you made will be saved.
Image 5