Data - Moving Versacheck data from one computer to another. Moving .Vdf file to another location.
NOTE: You will need an SD card or USB drive to complete the steps below. Insert your choice of media into the appropriate drive of the computer. If you have a back-up file or wish to use this method click on the link below for instructions:
http://www.versacheck.com/web/support/article.aspx?id=134
If you are using default location for your VersaCheck program proceed to step 1. If you are using a different or custom location, you will need to navigate/browse to that location and proceed to step 2.
1. Click on the Windows Start button and select the Documents or My Documents icon. Inside this folder there is a folder named VCheck. Double click on this folder to view the contents.
Image 1

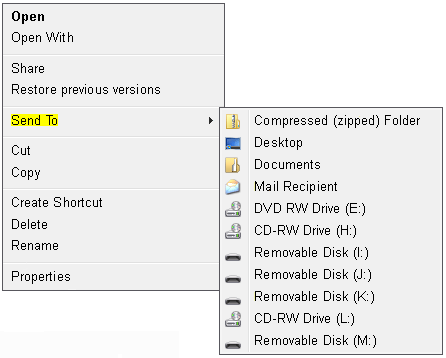
2. Inside the VCheck folder can be several files and folders. What is in this folder is not important as we are only looking for one file, the VCheck.vdf file. Right click on the VCheck.vdf file and select the Send To option from the menu. From the Send To menu select the drive containing your removable media device.
Image 2
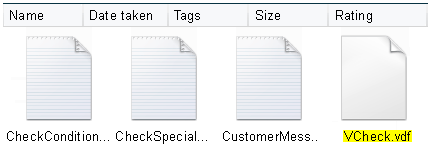
Image 3
3. Install VersaCheck on the new computer. Open and activate the VersaCheck program. Once the program is opened and activated you will want to close the program. These actions create the VCheck folder that we will move the file to.
4. Remove the SD card or USB drive from the old computer and insert it into the appropriate drive on the new computer. Select to View files and folders when asked by Windows.
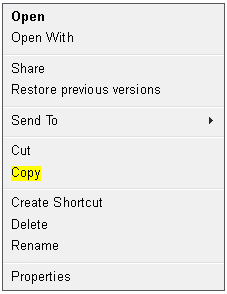
5. On the removable media drive, right click on the VCheck.vdf file and select the Copy option.
Image 4
6. Click on the Windows Start button and select the Documents or My Documents icon. Inside this folder there is a folder named VCheck. Double click on this folder to view the contents.
Image 1

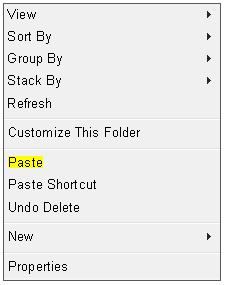
7. Once inside the folder, right click on an empty space within and select the Paste option.
Image 5
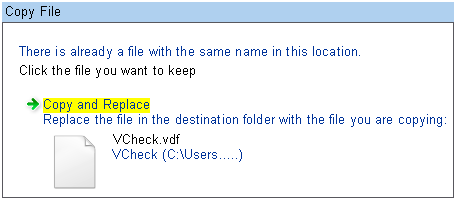
8. Select the Copy and Replace option when prompted by Windows. This will replace the new, data free file with the data file from the old computer that contains all your VersaCheck information.
Image 6
