Print Test Check
(Step 3 of 3)
The Print Test Check wizard allows you to print a sample check that you may
use to verify that checks will print correctly. From the File menu select Print
Checks/Drafts and from the Print Checks dialog box
that opens click Test checks and then click the Next button.

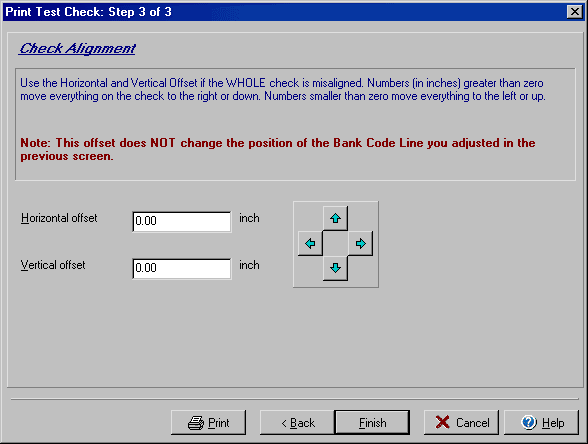
If the entire check face is not lined up properly, use the blue arrows in the middle of the dialog box for step 3 of the Test Check wizard to adjust the layout. Positive numbers move the check right or down, while negative numbers move it up or left. This screen does not affect the placement of the MICR bank code line set in step 2 of the Test Check wizard.