(Step 2 of 3)
The Print Test Check wizard allows you to print a sample check that you may
use to verify that checks will print correctly. From the File menu select Print
Checks/Drafts and from the Print Checks dialog box
that opens click Test checks and then click the Next button.

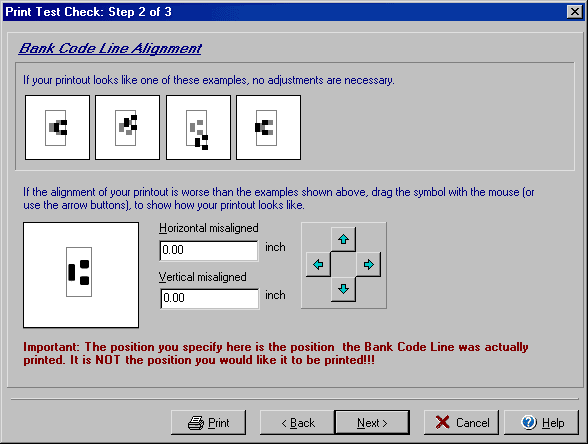
- Examine the MICR bank code line of your printed test check and see if it
looks like one of the four sample boxes at the top of the Test Check dialog
box.
- If the printed test check looks worse than the four samples, use the four
blue arrows to move the lower sample graphic until it looks the same as how
the bank code line actually printed on the test check.
- Click Next to continue to the last step of the
Print Test Check wizard.

