Alignment - Adjusting the Bank code line. The transit symbol is not centered in the watermark. The check is not scanning. The check cannot be read. Check is not reading at the bank.
1. Below is an example of an incorrect print.
Image 1

2. Open your version of VersaCheck. Select Print from the second toolbar across the top of the screen.
Image 3

3. When the "Log In To Print And Send" window appears, select the IGNORE button. It is not necessary to log on the gValidate to adjust the bank code line. If you want to print checks after aligning the bank code line, please sign in with your gValidate email address and password.
Image 2
4. The Print Checks and Deposit Slips screen will appear. Ensure you are on the Checks tab. Click the Print button next to "Blank Checks on Check paper to fill out later". In choosing this you will not have to write a check before proceeding.
Image 4

5. If you have not entered and activated both a Paper and Ink validation code you will see the screens below. On the first screen select Next. If you have both codes in proceed to step 8.
Image 5

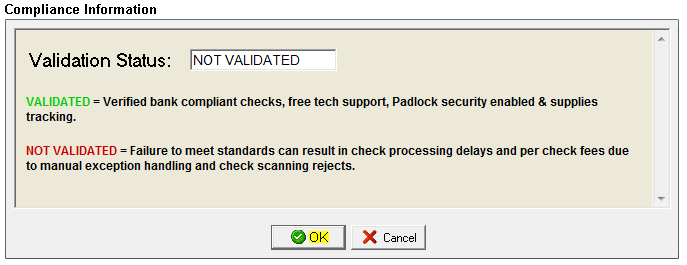
6. The Compliance Information screen will appear. Click on the OK button. Your validation status may differ from what is presented in the screen shot below.
Image 6
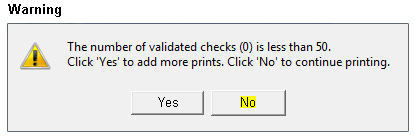
7. Depending upon your compliance status you may or may not get the Warning screen. If the Warning screen does appear just click on the NO button.
Image 7
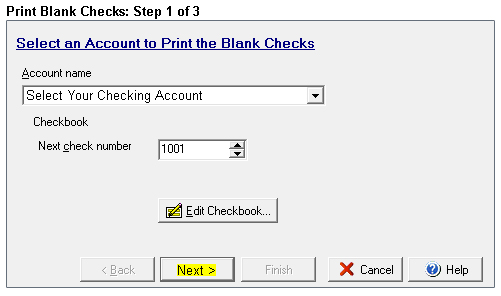
8. The Print Blank Checks Step 1 of 3 screen will appear. Select an account that you have set up, it must have a bank code line. Once the account is selected click on the Next button.
Image 8
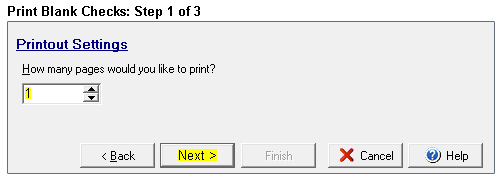
9. The Print Blank Checks Step 2 of 3 screen will appear. Set the "How many pages would you like to print" field to "1". Leave all other settings the same - click the NEXT button when complete.
Image 9
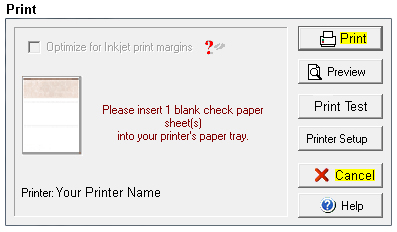
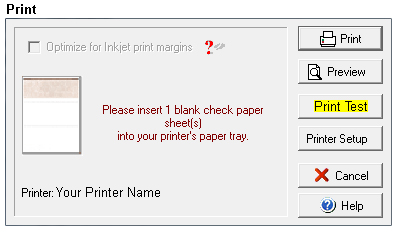
10. The Print screen will appear. Click on the Print Test button to access the alignment tools.
Image 10
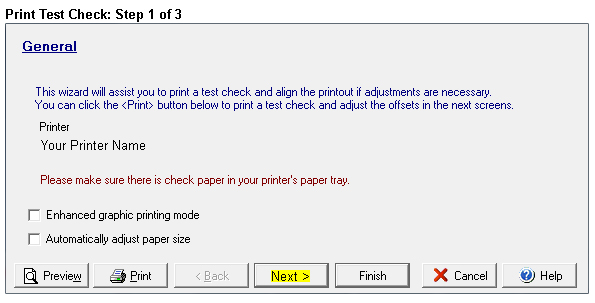
11. The Print Test Check Step 1 of 3 screen will appear. For our purposes, simply click on the NEXT button to continue.
Image 11
12. A Confirmation screen will appear asking you if you would like to print a Test Check. If you do not have a print out to go by then print out a Test Check by click on the YES button. If you already have a sample to work from click on the NO button to proceed.
Image 12
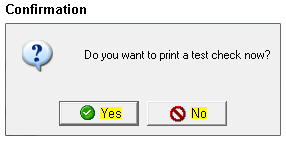
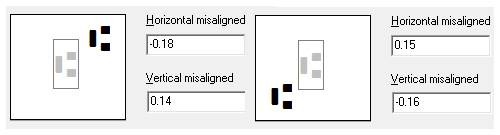
13. The Print Test Check Step 2 of 3 screen will appear. There will be a large white box with a black transit symbol (highlighted below). Click and hold on the transit symbol. Move your mouse while holding the button down and move the symbol around inside the box. You will want to place the transit symbol in the white box in the same position that it appears on your print out. In the example in step one, the symbol was high and to the right of the watermark on the check. We would place the symbol, in the white box below, in the same spot. After the symbol is identical to the print out click on the PRINT button. The symbol should now print centered in the watermark. If the symbol is still not centered, repeat the process until the print out is correct. NOTE: We have some shots below of different locations you could move the symbol if it matches your print out. These are only examples.
Image 13
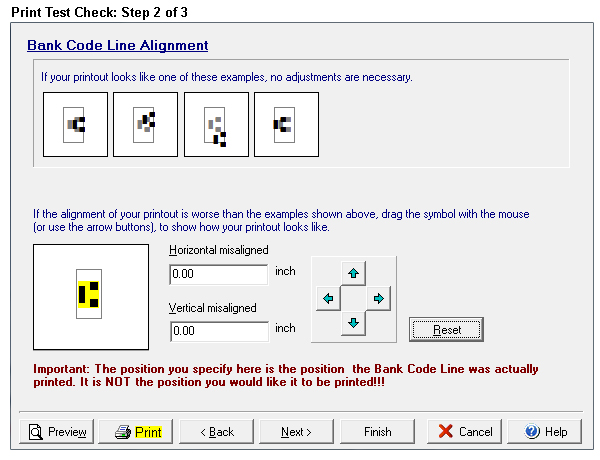
Image 14
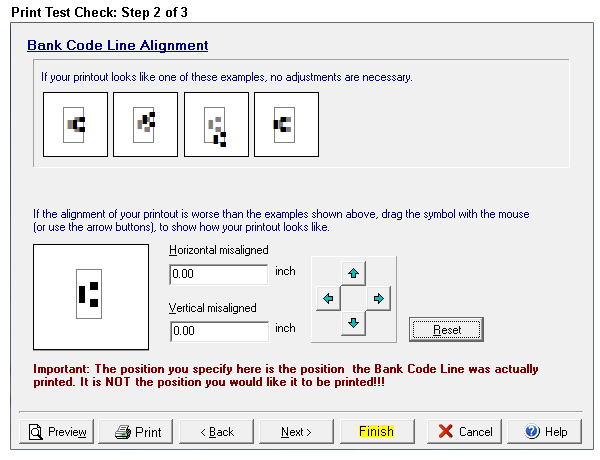
14. Once the adjustment is complete and the print out is correct click on the FINISH button. If the "Do you want to print a test check" window appears, click on the NO button as you have already printed a test.
Image 15
15. The Print screen will appear. You can choose to print the blank check by selecting the PRINT button or you can exit this screen by clicking on the CANCEL button and closing each screen in succession behind it. Your changes to the bank code line have been saved and will not change unless you adjust them again at a later date or click the RESET button on Print Test Check: Step 2 of 3.
Image 16