VersaCheck Printer - Peachtree. Integrating Peachtree with VersaCheck. How to print checks from Peachtree with the VersaCheck Printer.
1. Open Peachtree and prepare/write a check.
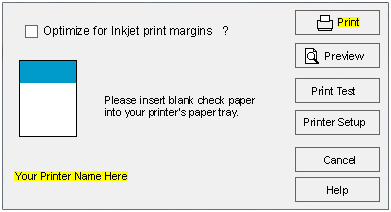
2. Go through the normal procedure to print the checks.
Image 1
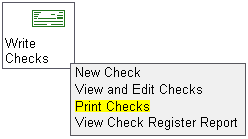
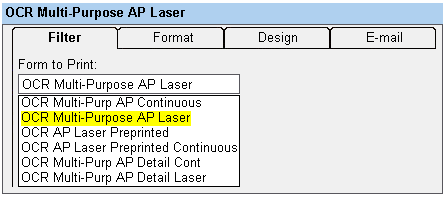
3. Select "OCR Multi-Purpose AP Laser" from the list of reports/forms. For payroll checks select "OCR Multi-Purpose PR Laser".
Image 2
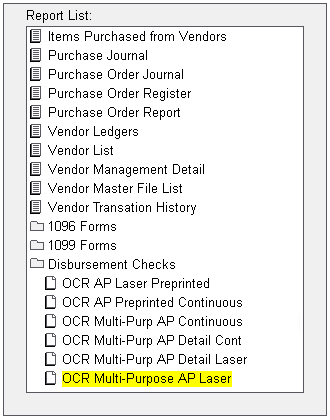
Image 3
4. Select the "VersaCheck Printer" if it is not already selected. The information shown in the example for the "Type" and "Where" portions should be the same on your screen as well.
Image 4
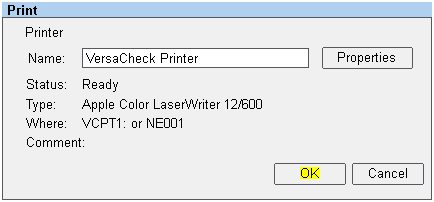
5. When the screen appears, from Peachtree, asking if the checks printed correctly just leave the window up. Do not answer until the checks have printed out on the physical printer.
Image 5

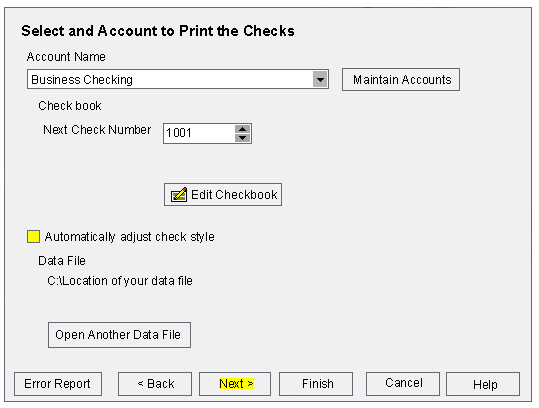
6. When the VersaCheck "Print Checks" screen appears you will need to ensure the correct account is selected. If this is the incorrect account click on the drop down arrow and select the correct account. Click on the "Edit Checkbook" button.
Image 6
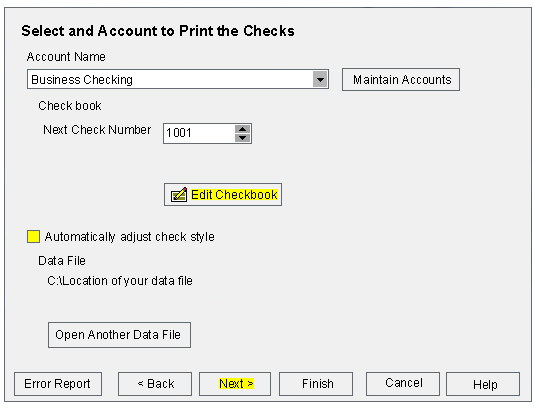
7. Click on the "Next" button until you get to the "Change Check and Deposit Slip Style".
Image 7

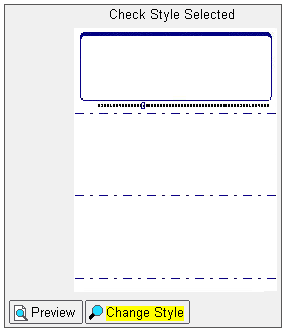
8. Select "Check Style" under the "Style Type" field. The correct check style is Business Standard 1001/...PT. If this style is not selected click on the "Change Style" button. If the proper style is selected go to step 10.
Image 8
9. Select "G7PS VersaCheck All Styles' under the "Check Style Group" heading. Select on of the Business Standard 1001/...Pt styles under the "Check Style" heading. All the styles ending in "PT" are designed to work with Peachtree. Click "OK".
Image 9
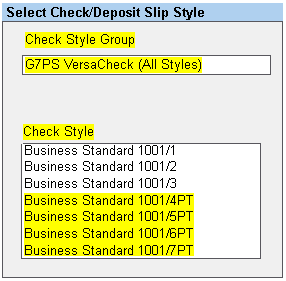
Image 16

10. Click on the "Next" button to proceed.
Image 10

11. On the "Select your Graphics and Signature" screen click on the Finish button to save all changes.
Image 11

12. Click on the Next button.
Image 12
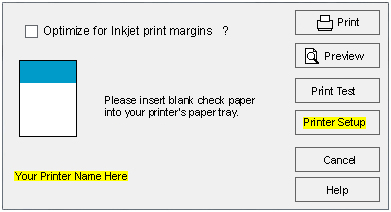
13. On the Print screen ensure the correct physical printer is displayed. The physical printer is the printer that you want the checks to print on. If the wrong printer is selected, click on the Printer Setup button. If the printer is correct go to step 15.
Image 13
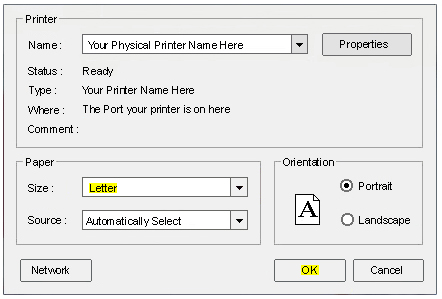
14. Click on the down arrow and select the correct physical printer from the list (The VersaCheck Printer is not a physical printer). Click on the OK button.
Image 14
15. Click on the "Print" button.
Image 15
