Overview
There are two different versions of the Check Designer, Standard and Professional. The Standard designer will allow you to change elements such as font style and color on existing check templates, while the Professional Designer will allow you to create and edit every aspect of the check face and each of its elements. (Please note that this overview describes all of the features in the Professional Check Designer which includes all the features available in the Standard version.)
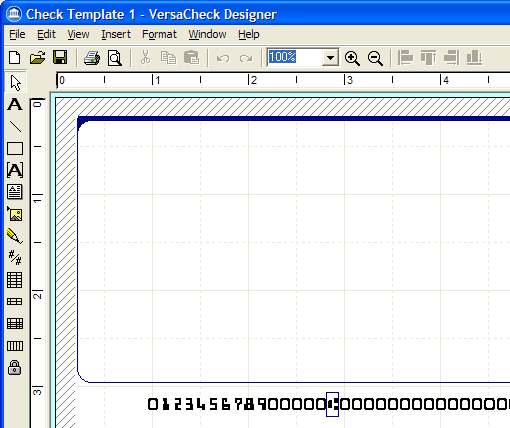
Click the blank white icon to create a new check template document or click the folder icon to open an existing template. You can preview your document at any time as you work by clicking the magnifying glass and page icon. By clicking the plus and minus magnifying glass icons you can zoom in and out on the page layout view of your document. You can change the top and side ruler display by selecting Page Layout from the main Designer File menu and changing the Units setting to inches, millimeters or pixels (at 96 dpi).
If you are editing an existing template you may edit elements already on the documents face by single clicking on them. The item will display a bright green bounding box. You may then move it by placing the mouse back over the item and single clicking and holding down the left mouse button and dragging the element to where you would like to place it. You may edit the details about an item by double clicking the item and opening the Object Properties dialog box (more on Object Properties below). Depending on the type of item (e.g., text, label, image, etc.) you will be able to edit text, size, location, and other details of the element or object that you double clicked. For example: by double clicking the 'Payee Address 2' field as pictured above you would open the Check Data Text Properties dialog box and from there you could change the size and position of the field for 'Payee Address 2', you could change the background color, display a border around the field or change the data type of the field. (Remember that items that appear in brackets are data types that indicate what information the software should insert into that location on your check and NOT what will actually print. Because the program needs to recognize the correct data type to place it is recommended that you NOT change the data type on templates that you edit.)
If you are placing a new item on the page you will use one of the 13 object icons to select the type of element or object you wish to add to your check template. After clicking the icon for the object or element you wish to add, simply place your cursor the location on the document where you want the top, left corner to start and left click, you may also drag the bounding box until you get to the bottom, right corner where you want the element to stop and then release the mouse button. (After you add each item the cursor will automatically default back to the standard white selection/arrow cursor. If you wish to keep the same cursor and add multiple instances of a particular type of object click on the lock icon before clicking the icon of the object you wish to add.) The objects you may add to your check template are:
- Label: Add a label to add generic text (e.g., a memo line)
- Line: Add a vertical or horizontal line (e.g., a separator)
- Rectangle: Add a clear or colored rectangle (for example, to add a colored background for a particular item or area)
- Data Text: Add a text Data Type that will be replaced by the program (e.g., the dollar amount)
- Address Box: Add a field that contains all the Data Types for an address (bank, customer, etc)
- Image: Add an image or logo to your check
- Signature: Add a signature field
- Fractional Routing Number: Place the Fractional Routing Number field on your template
- Split Table: Insert a table to itemize amount(s) on a check
- Check Summary: Add a check stub style check summary for the document
- Check Register Table: Add a standard check register table
- Deposit Slip: Add a standard deposit slip
One quick way to create a custom check template is to open an existing template that you like and to make the changes you want and then use the Save As function to save the template under a different name. In this way you can easily create new templates while preserving the original styles available.